An introduction
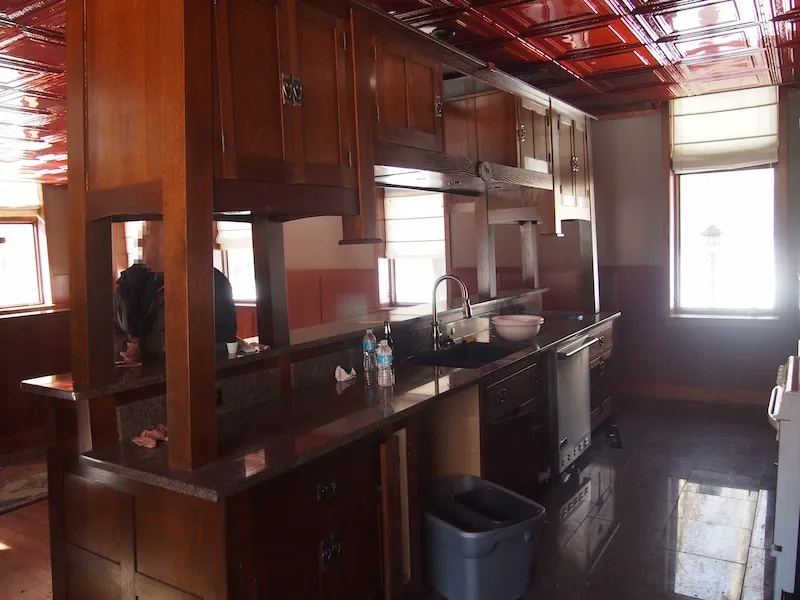
When we bought our first house, a foreclosure, the kitchen was beautiful, but the appliances were not. Specifically, the previous owners had removed or attempted to remove all of the appliances. They failed with the dishwasher that protruded about three-inches from the counter, but everything else was gone.
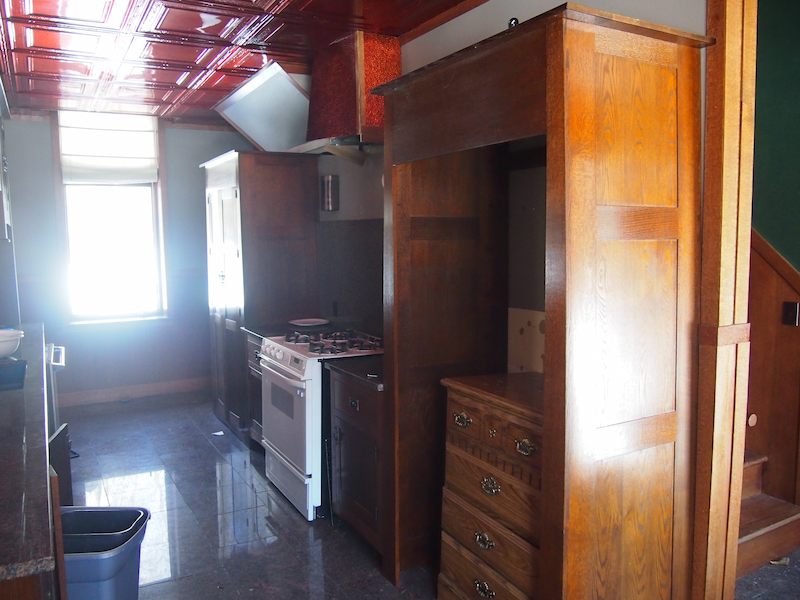
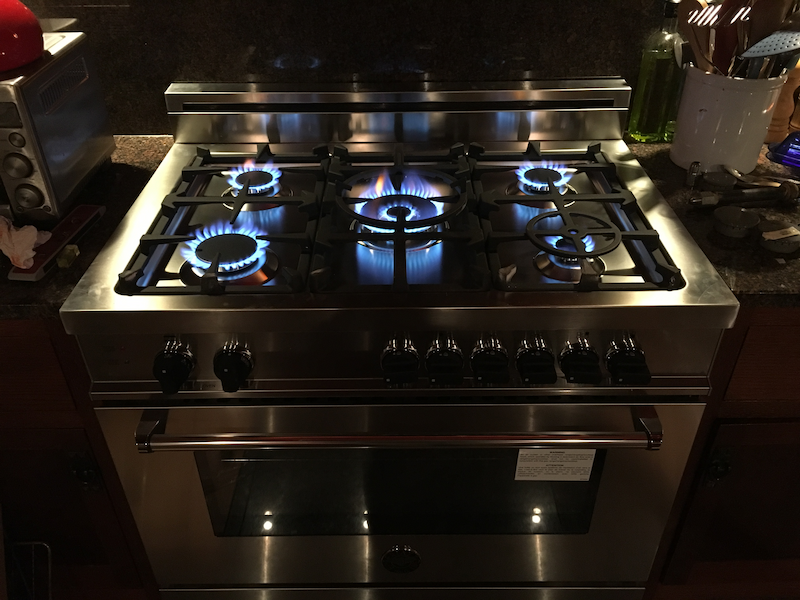
For the first few years, we used the 30-inch, white Kenmore stove that had been left in the 36-inch opening. It was a perfectly functional stove (and had a much better performing oven than its eventual replacement) and we just couldn't justify spending the $5,000, or more, that all but the cheapest (in price and quality) 36-inch stoves demanded. Eventually, we stumbled across Bertazzoni appliances and in January 2016 took delivery of a 36-inch all-gas range from the Master series.
Along with the range, we also received a 36-inch hood insert (i.e., a vent hood, without the hood), courtesy of a promotion that let us choose a free vent hood to go with our stove. We considered some of the ready-made options, but didn't think a fully stainless hood was the right look for the Arts & Crafts kitchen, so we selected the insert and made plans to build a custom hood. We did just that... over the next six years; most of that time filled with inaction.
A rough concept
I'm pretty good at starting projects (less so at finishing them), so I immediately set to work designing the hood. I turned to Google (because at that time I wasn't convinced they're evil) for inspiration, because we knew we wanted the hood to match the style of the kitchen, but that was all we knew.
It took a week of on-and-off searching and sketching to land on a rough design. I only saved one photo from the dozens (or more) I looked at (see gallery below), so I have to assume that was the main inspiration.
To test the general fit of the design in the space, I cut up the box from our washing machine and taped together a full-scale mock-up. More masking tape held the mock-up in place for the day and we decided we could live with it.
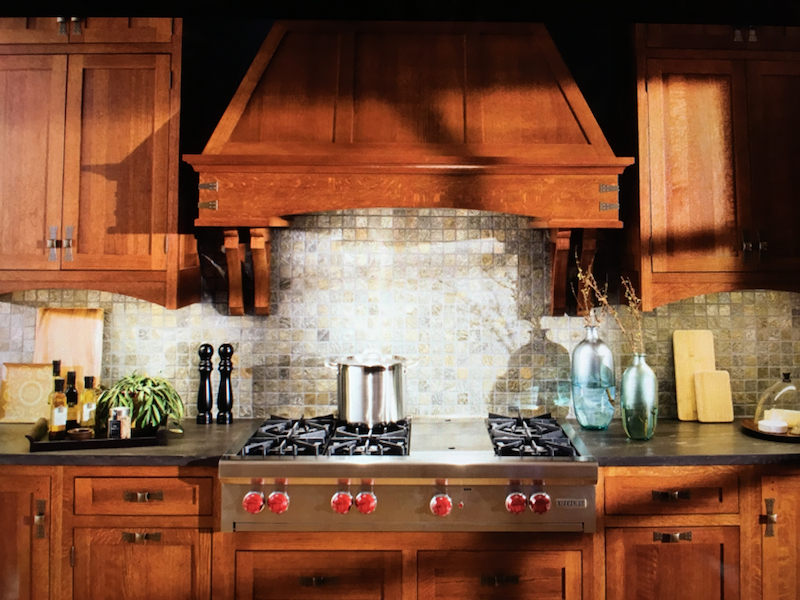
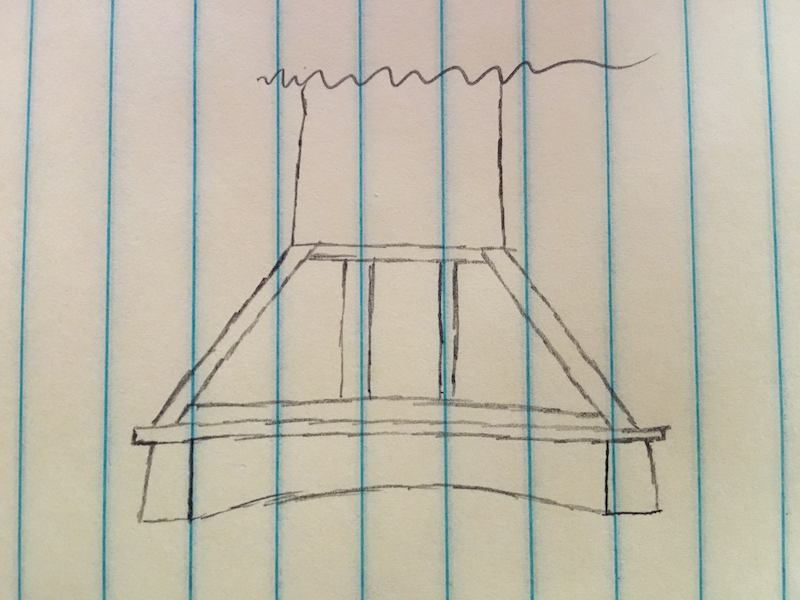
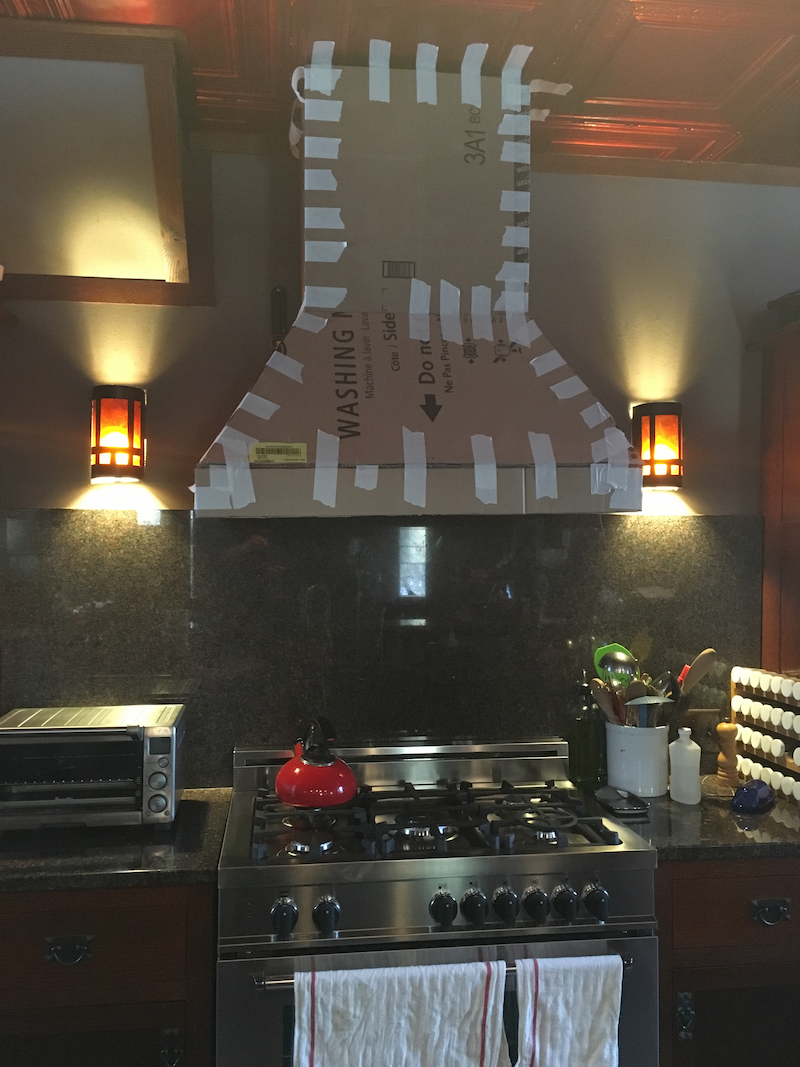
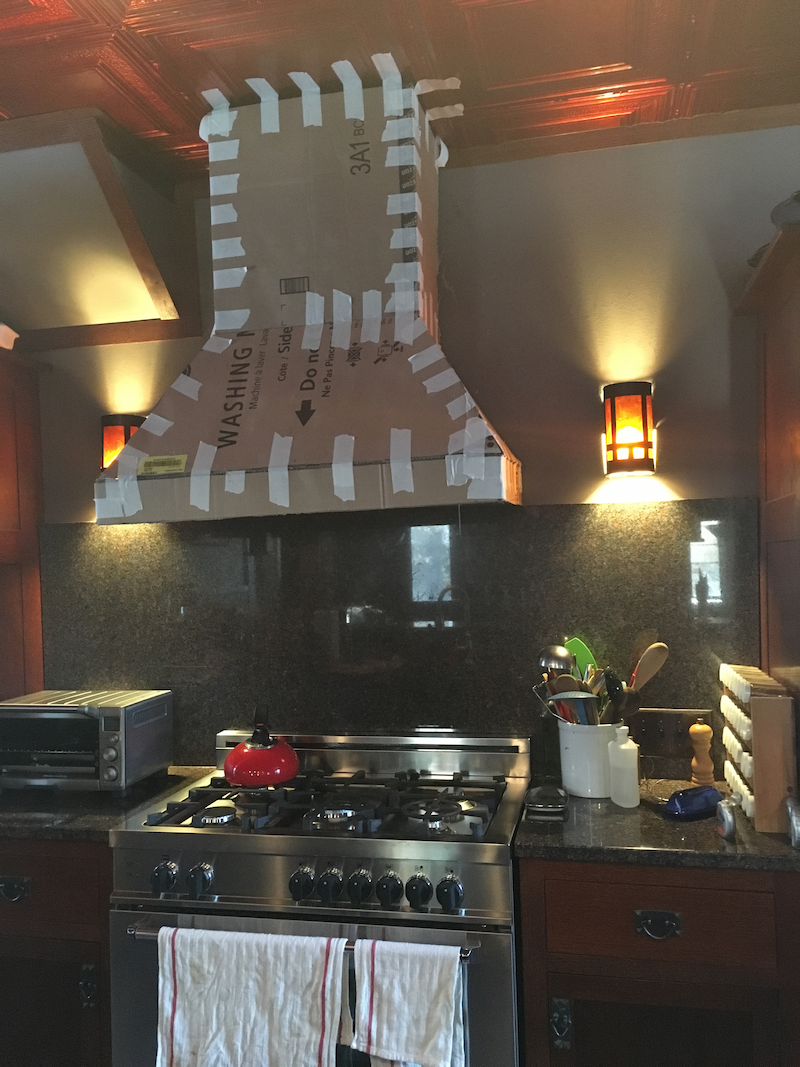
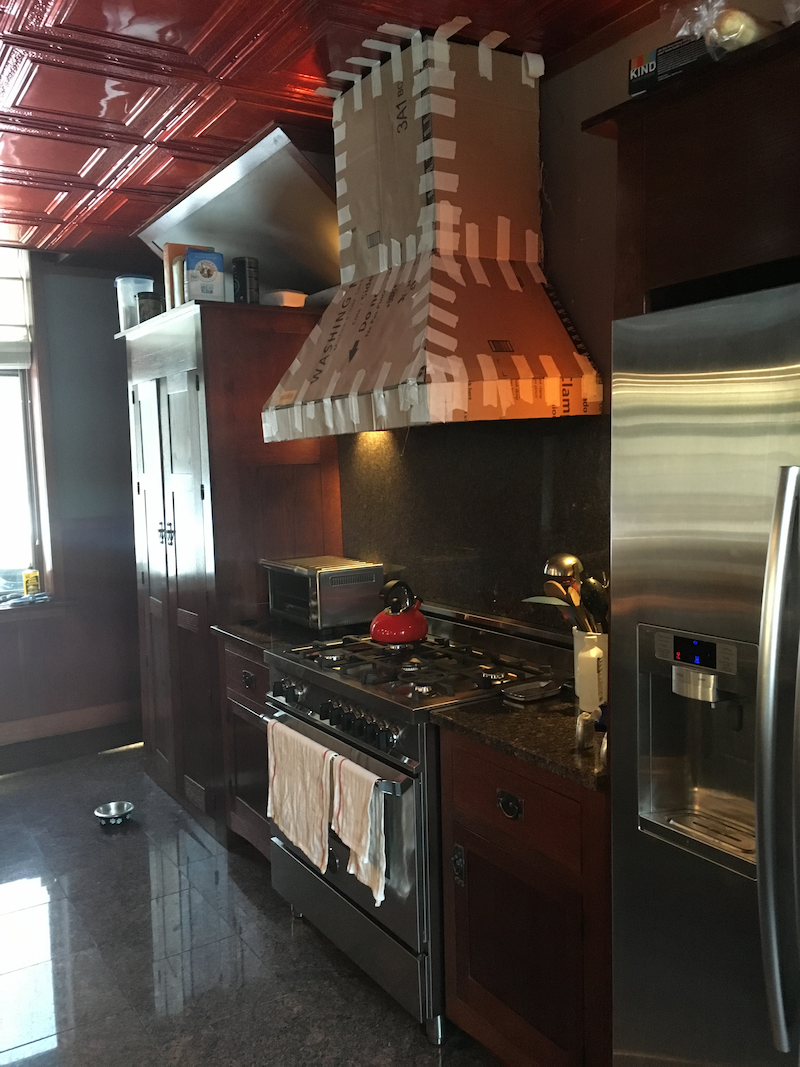
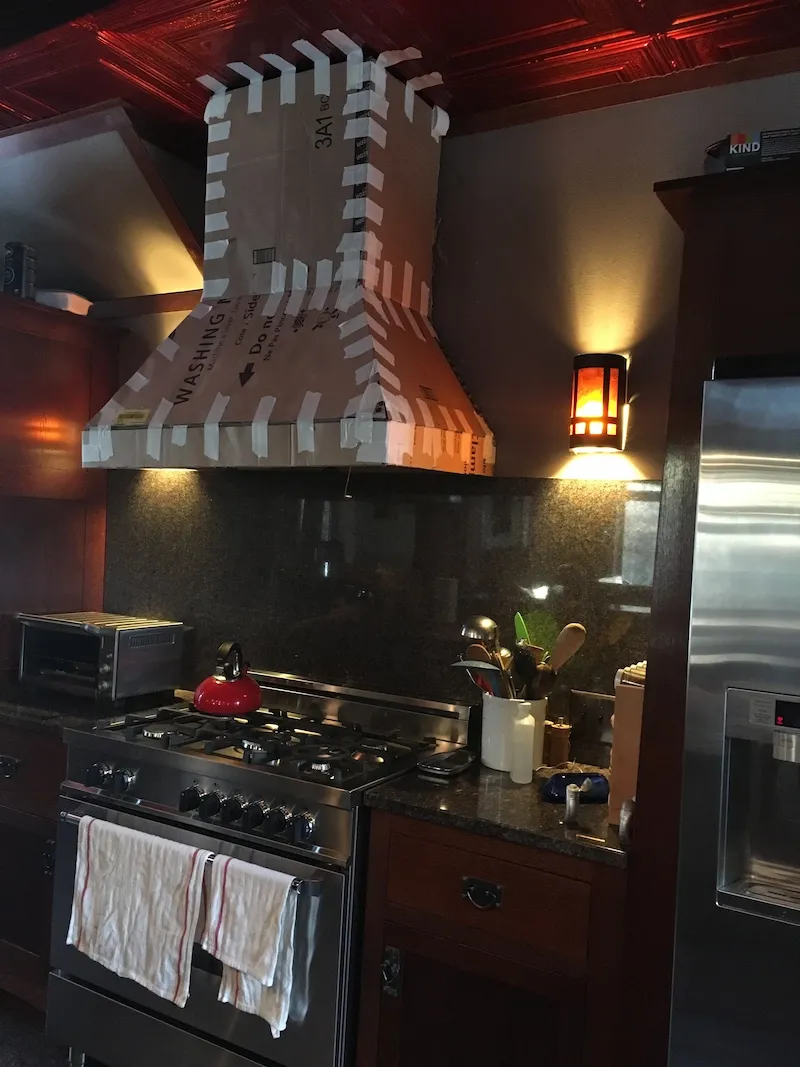
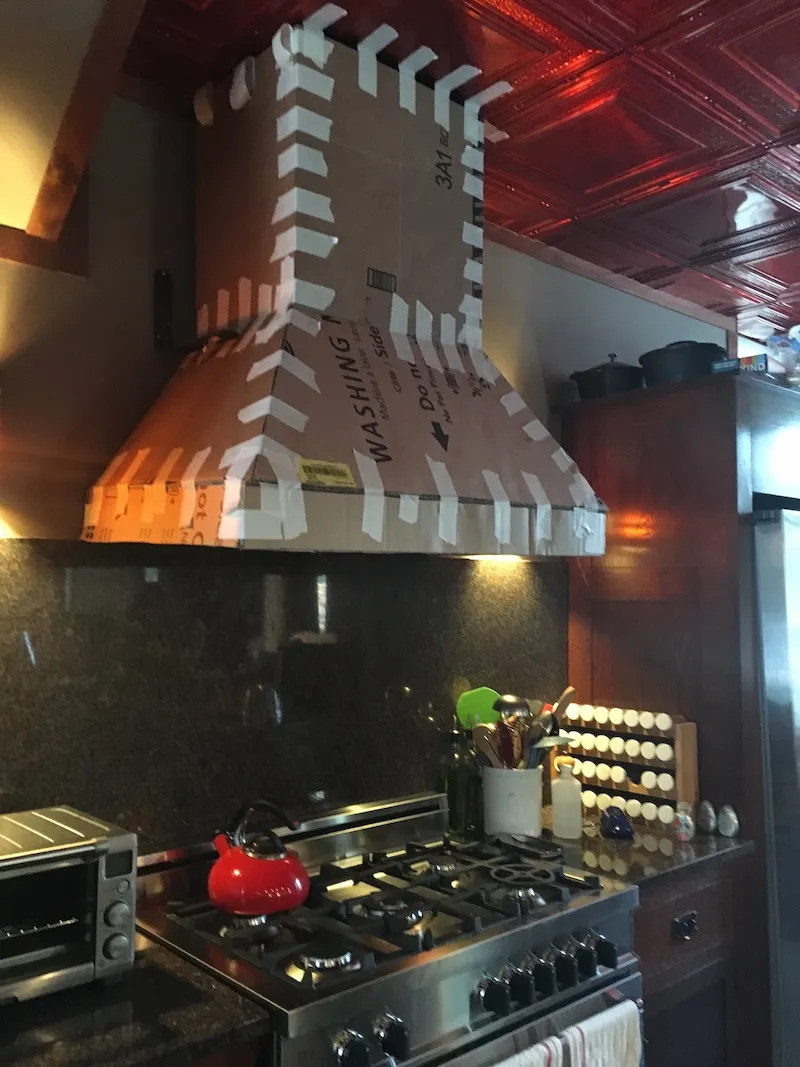
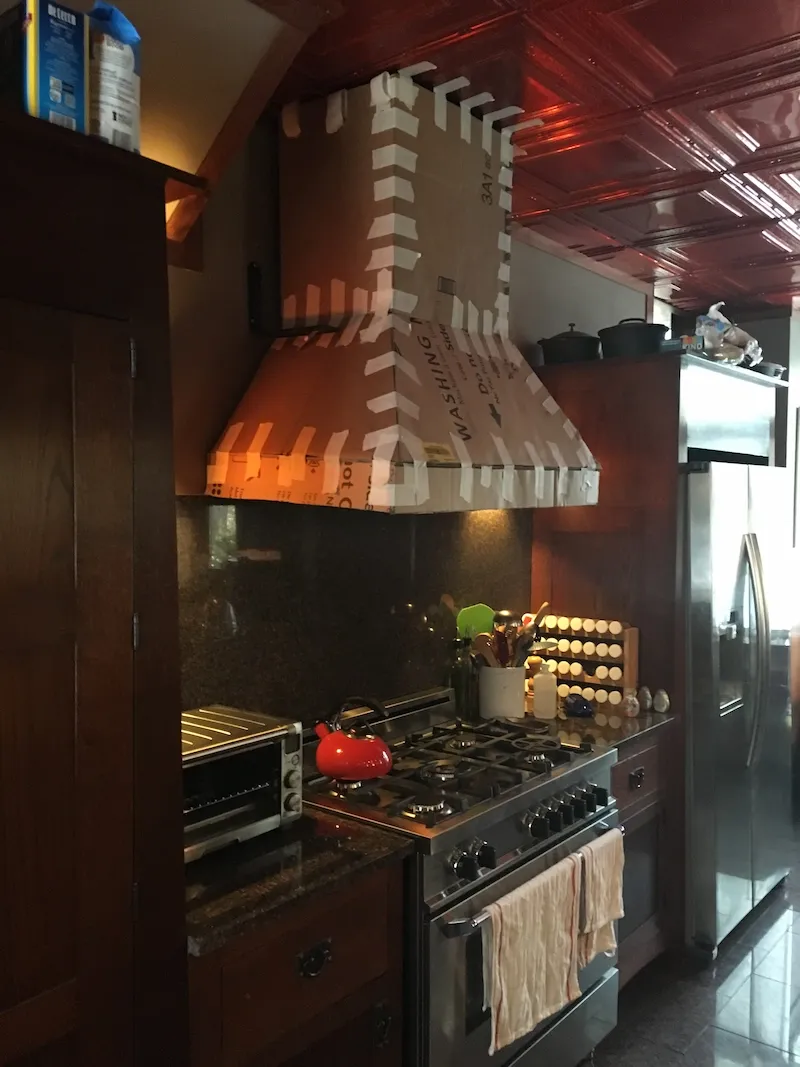
Inspiration for, a rough sketch of, and a full-size mock-up of our eventual vent hood
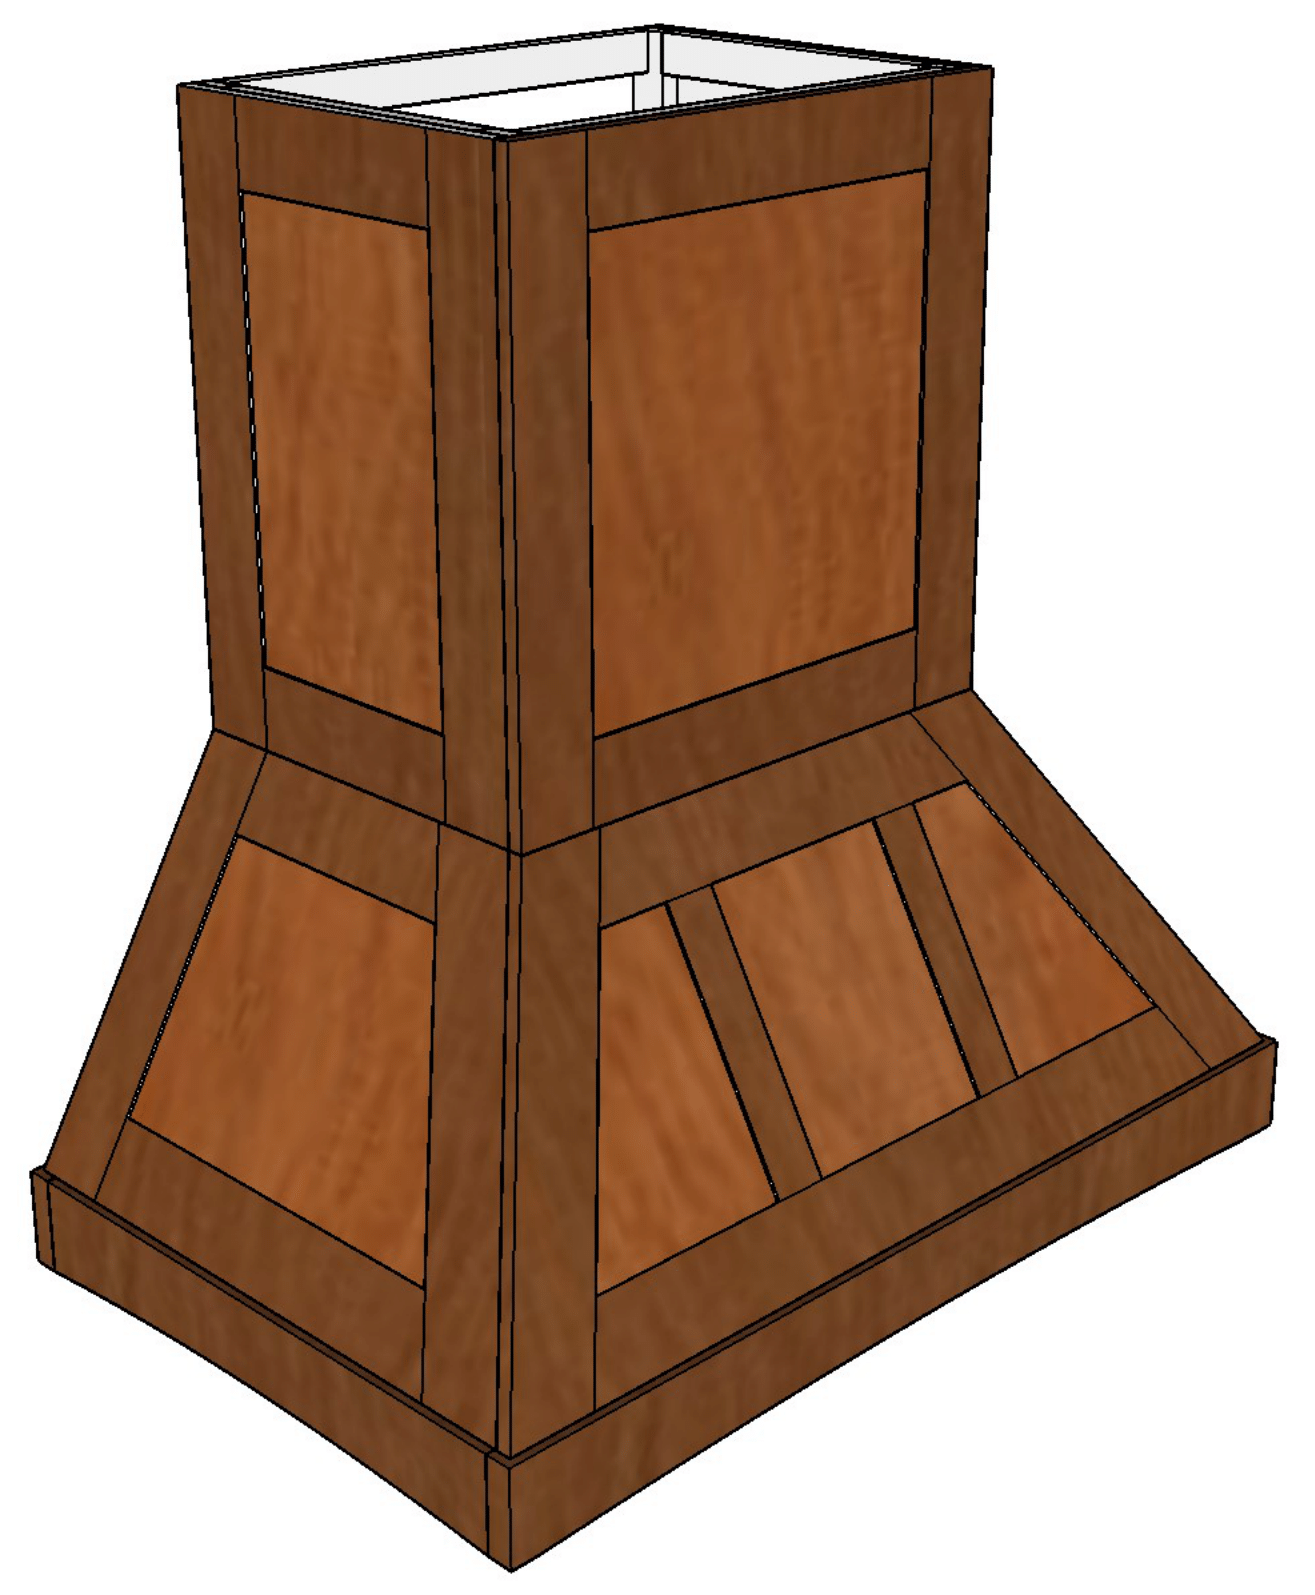
I turned to Sketchup (back when it had a free, locally-installed version for hobbyists) to fine-tune the design. Some details we wanted to include were:
- Quartersawn white oak for the frame and panels
- Rails and stiles similar in size and/or proportion to the rest of the cabinetry
- Matching the curve/arch on the bottom rail
- Maintaining a similar recess on the panels
- Dividing the wide front panel into multiple, smaller panels.
The "final" design (tweaked as I built, obviously) relied on a subframe in spruce or poplar, attached to the wall and providing support to the entire unit. Individual white oak frame and panel sections would be preassembled and attached to the subframe and each other.
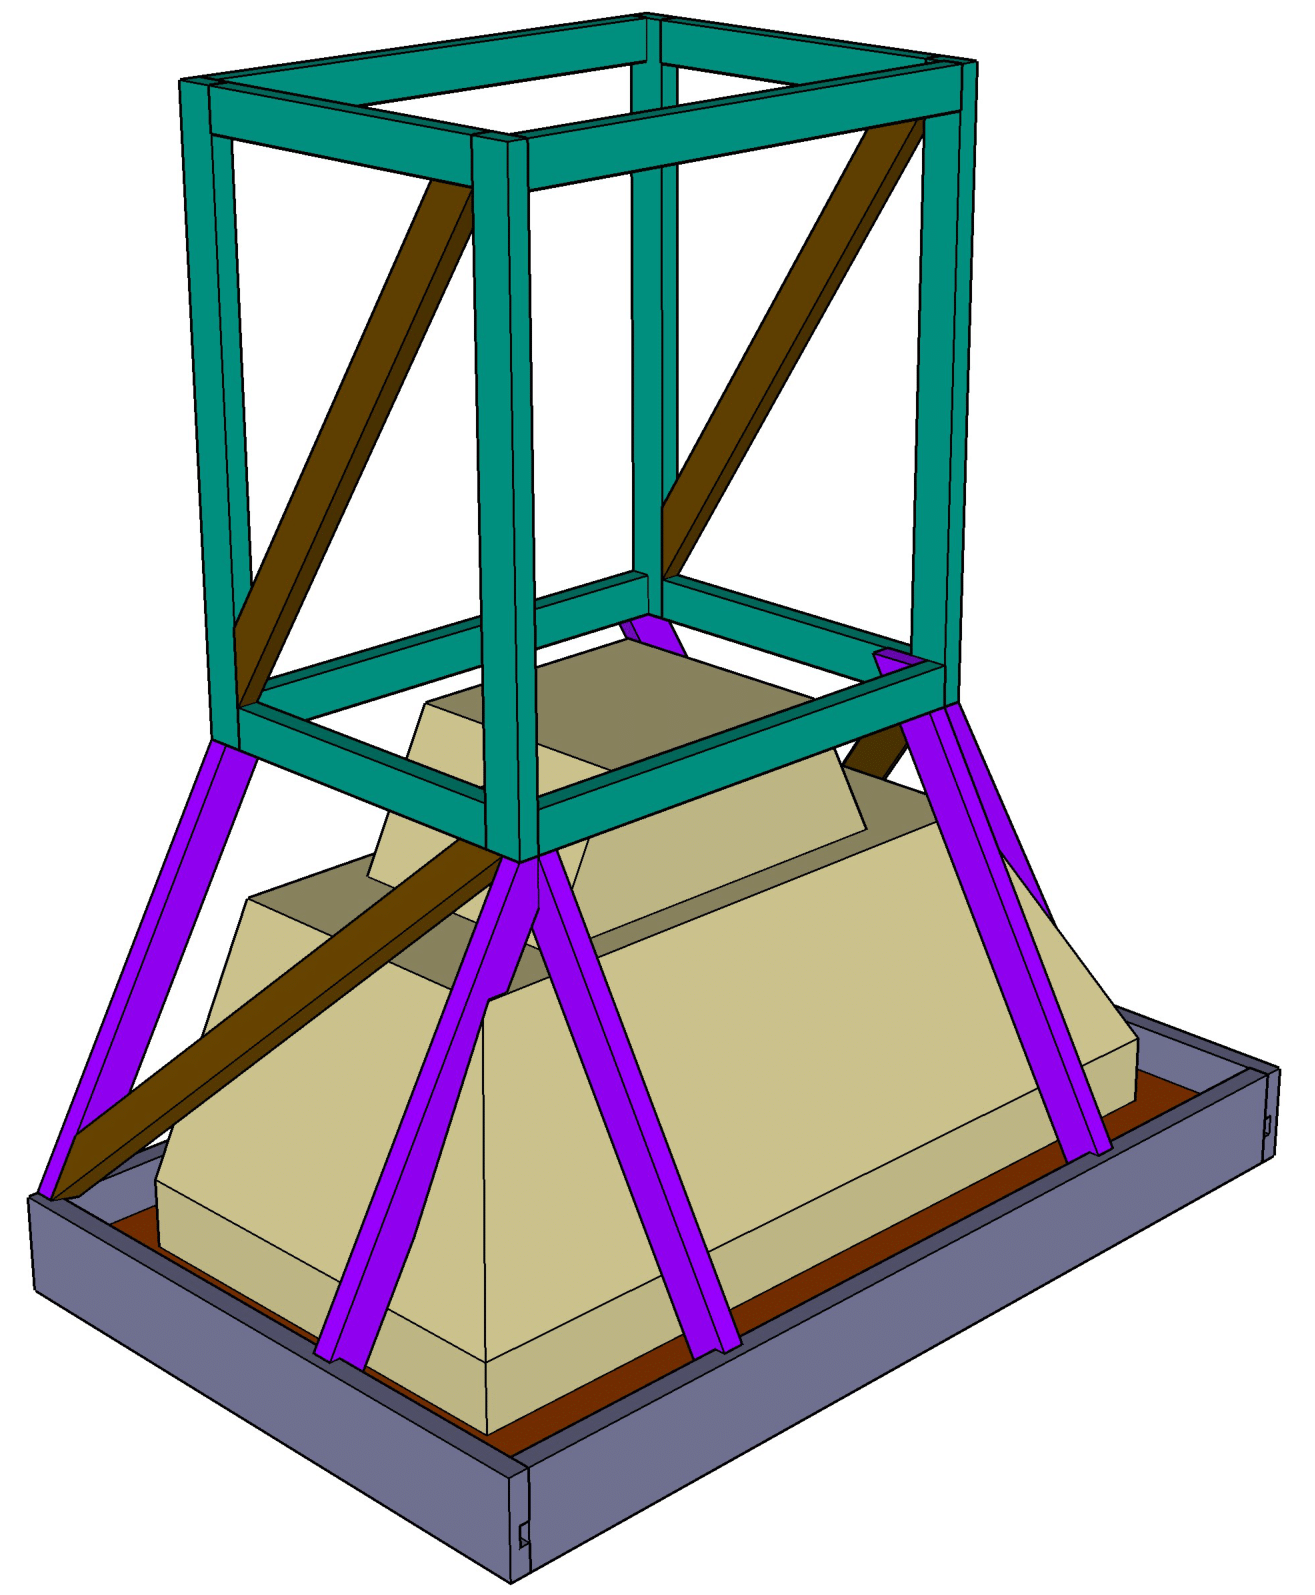
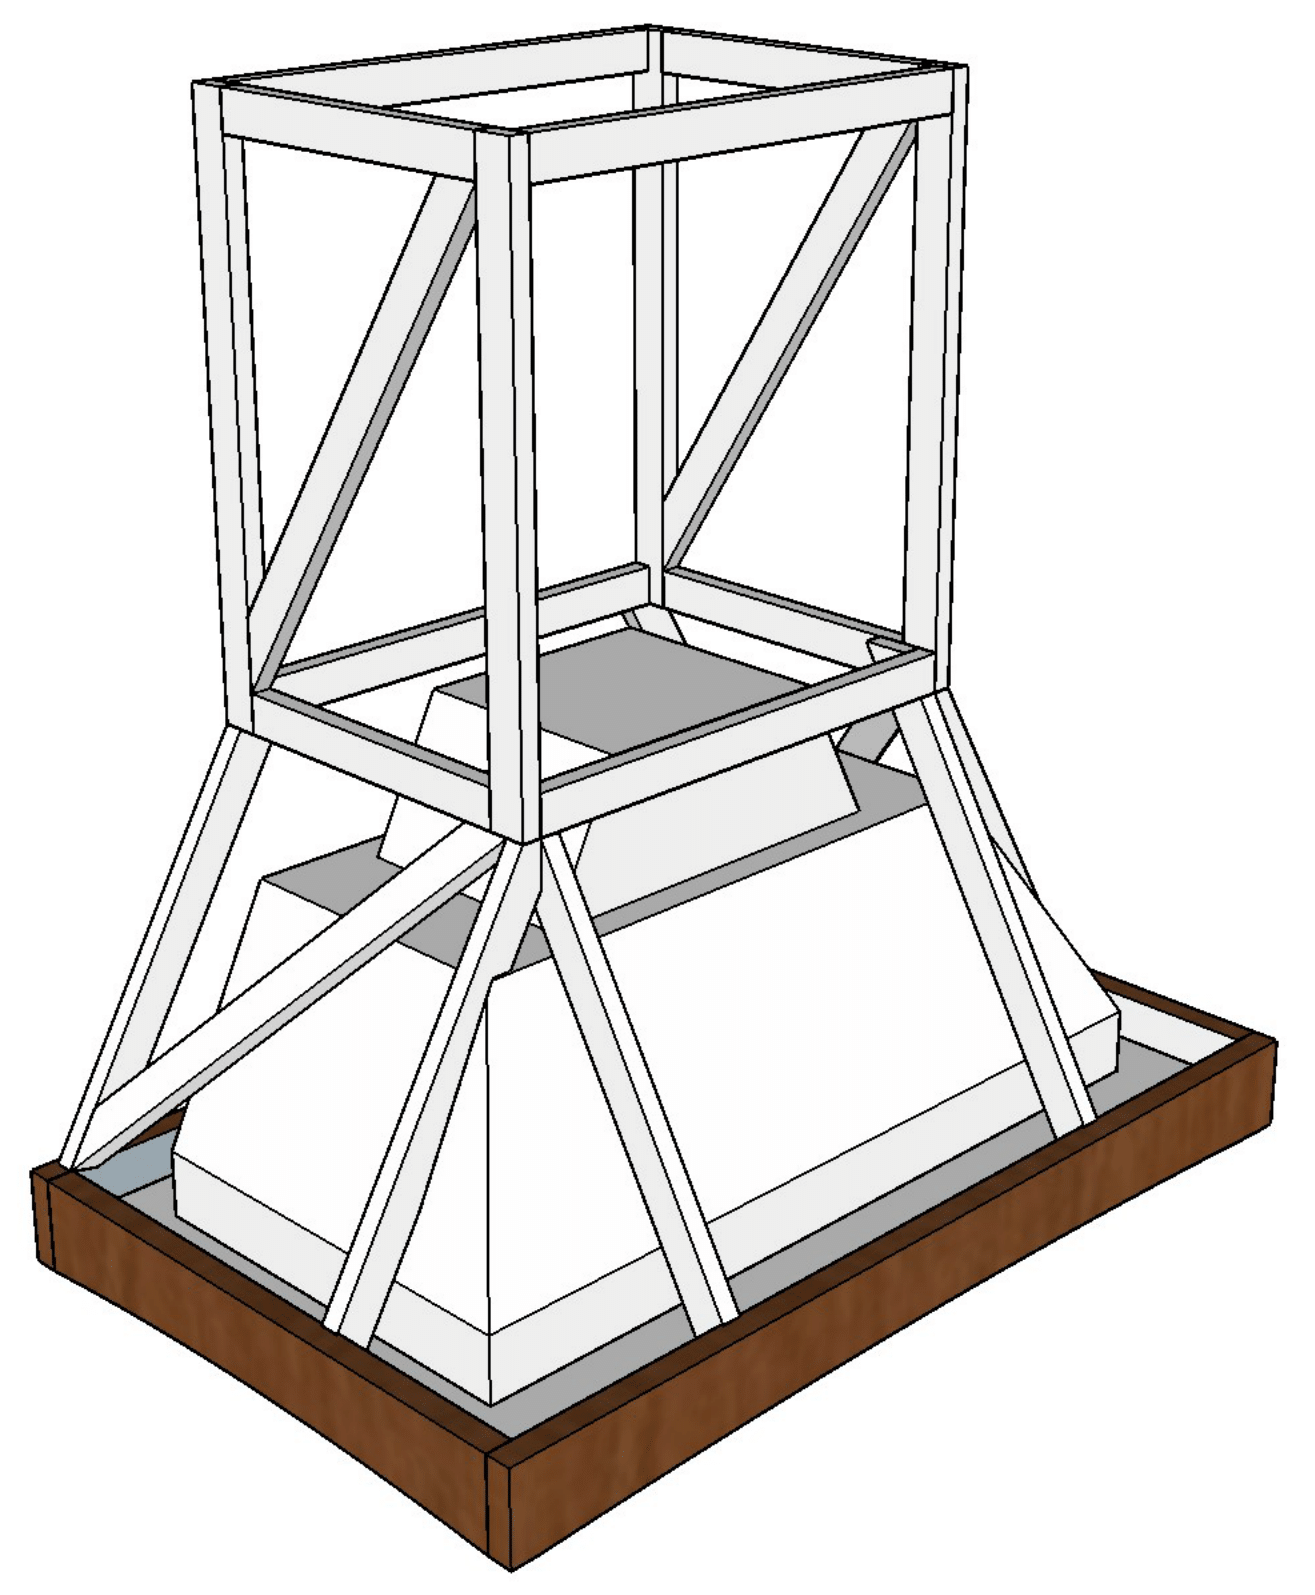
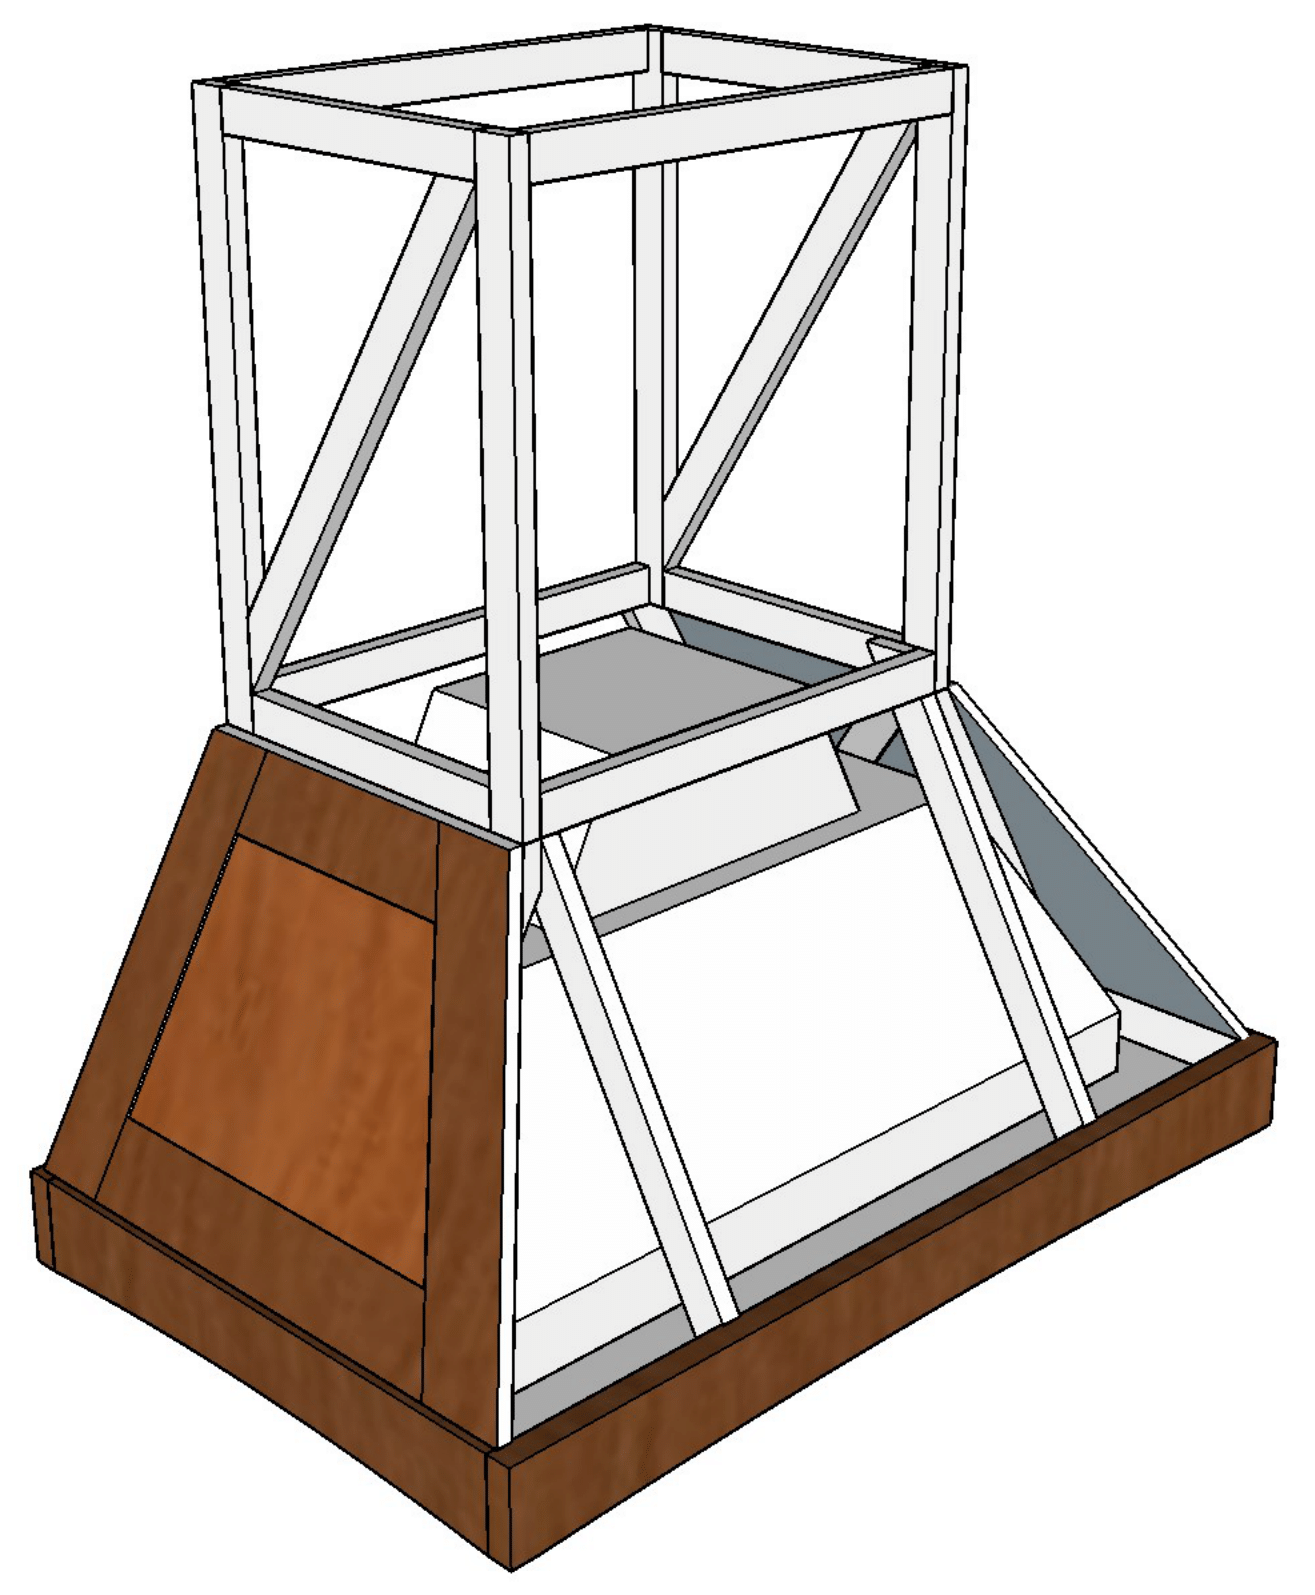
Sketchup is great, but glosses over some import aspects of a design. For this build, I had the design, but no answer for the practical question of how to attach everything. I don't recall my original thoughts on the subframe, but was steered to pocket-hole screws by my uncle, which was undoubtedly simpler than whatever I had planned and entirely adequate for the purpose. He also suggested that I abandon my plans of using rare-earth magnets to make some of the panels removable for serviceability. I did, eventually, take his advice, but not before I was well into the build and having already given Lee Valley some money for a pile of small magnets.
With plans in hand, it was time to begin building, starting with the subframe.
Project links
I'll update this section with links to the various steps in the process as I post them.
- I haven't written anything else yet...